
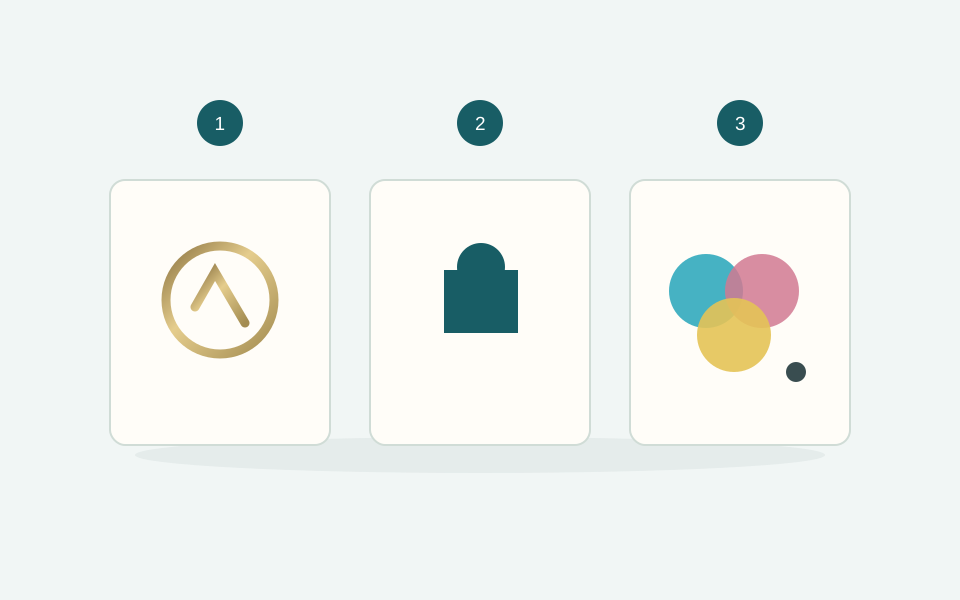
Begin with what you want to print
A small metallic logo, solid-colour lettering and a photograph require different results. Identify the essential elements first: logo, text, images, backgrounds and fine details. Consider their actual size, the paper and the contrast. Choose from the processes available for the box you are configuring.
The same design can work on a smooth covering and need adjustment on a textured surface. A monitor displays colour using light: it is not a physical print proof.
Hot foil: a mark made with a foil
Hot foil stamping transfers a foil using a die, heat and pressure. Consider it for a logo, lettering or a defined pattern, including when you want a metallic finish. A gold-coloured graphic on screen is different: the appearance of actual foil depends on lighting and the substrate too.
Prepare the mark as a separate vector element. Fine details, small lettering and narrow gaps need checking at the final size. Avoid choosing a generic minimum detail size without checking the planned process.
Screen printing: defined ink colours
Screen printing deposits ink through a mesh screen. It can suit logos, lettering and solid areas in defined colours. Check the number of colours and material compatibility in the box options: a photograph should not be treated as a single-colour logo.
If the brand colour matters, provide the agreed reference and consider a proof on the actual substrate. Ink colour and paper work together to shape the perceived result.
Full colour: photographs and multi-colour artwork
Four-colour printing uses the CMYK process colours to reproduce photographs and multi-colour designs. For a folding carton, consider every face, fold and text position. Work with the selected model’s dieline and follow the production file instructions for bleed and safe areas.
A gold tone reproduced in CMYK is a colour simulation; on its own it does not create a metallic foil effect. Any additional finish needs to be specified separately.
Check before uploading
- A vector logo, where available, and images at the required quality.
- Text and details checked at the final size.
- Artwork separated from technical cutting and folding lines.
- Fonts handled as requested in the production instructions.
- The selected technique and print area match the design.
For a logo on a rigid box, start with base and lid or magnetic boxes and check the available techniques. For artwork across several faces, explore printed folding cartons. Finish with our guide to print-ready artwork.