
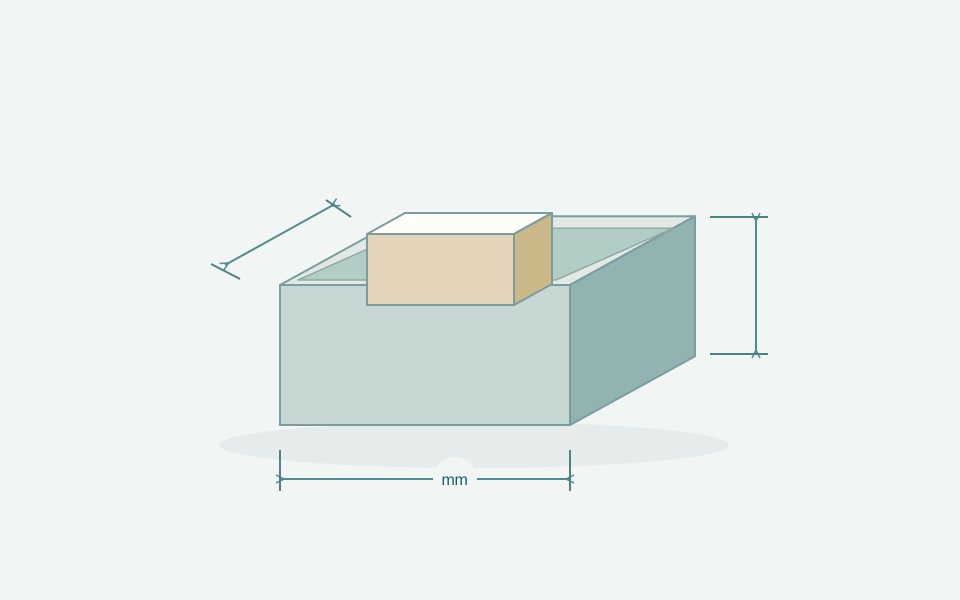
Measure the complete product
Place the product on the table exactly as it will be packed. Include the cap, pump, raised label, protective bag and accessories. Measure the widest protruding point, rather than just the main body. For a set, record three dimensions for each item and how many of each go into one box.
Use millimetres throughout: 12 cm becomes 120 mm. Keep the same length, width and height convention in your drawing and configurator. A top view and a side photograph help explain the intended orientation.
Internal and external sizes answer different questions
Scatole.com configurators ask for internal dimensions: the space available for the contents. External dimensions include the packaging structure and help assess, for example, the shipping carton. Do not calculate them by adding one fixed thickness. The lid, covering and type of closure all affect the result.
A worked example, without a universal clearance
A product measuring 80 mm wide, 50 mm deep and 120 mm high does not automatically need an internal box of exactly 80 × 50 × 120 mm. Consider the room needed to insert it, remove it and provide any protection. With an insert, allow for its walls, base and seating depth too.
There is no clearance that suits every product. A rigid bottle and folded fabric behave differently. Start with the real measurements and have a close-fitting arrangement checked before committing to production.
Check the opening experience as well
- Does the lid close without pressing against the product?
- Can fingers comfortably grip the contents?
- Does an insert or card cover important information?
- Do the items remain separated in the intended layout?
The 3D preview helps you judge proportions. A physical sample is useful when checking a grip, a tight fit or an actual surface: a drawing cannot reproduce every variation in the product.
Choose a relevant starting point
For a single item, start with a base and lid box. For a kit intended to be opened repeatedly, consider a magnetic box. For compact printed paperboard packaging, open the folding carton configurator. To compare opening styles, read our guide to different box structures.