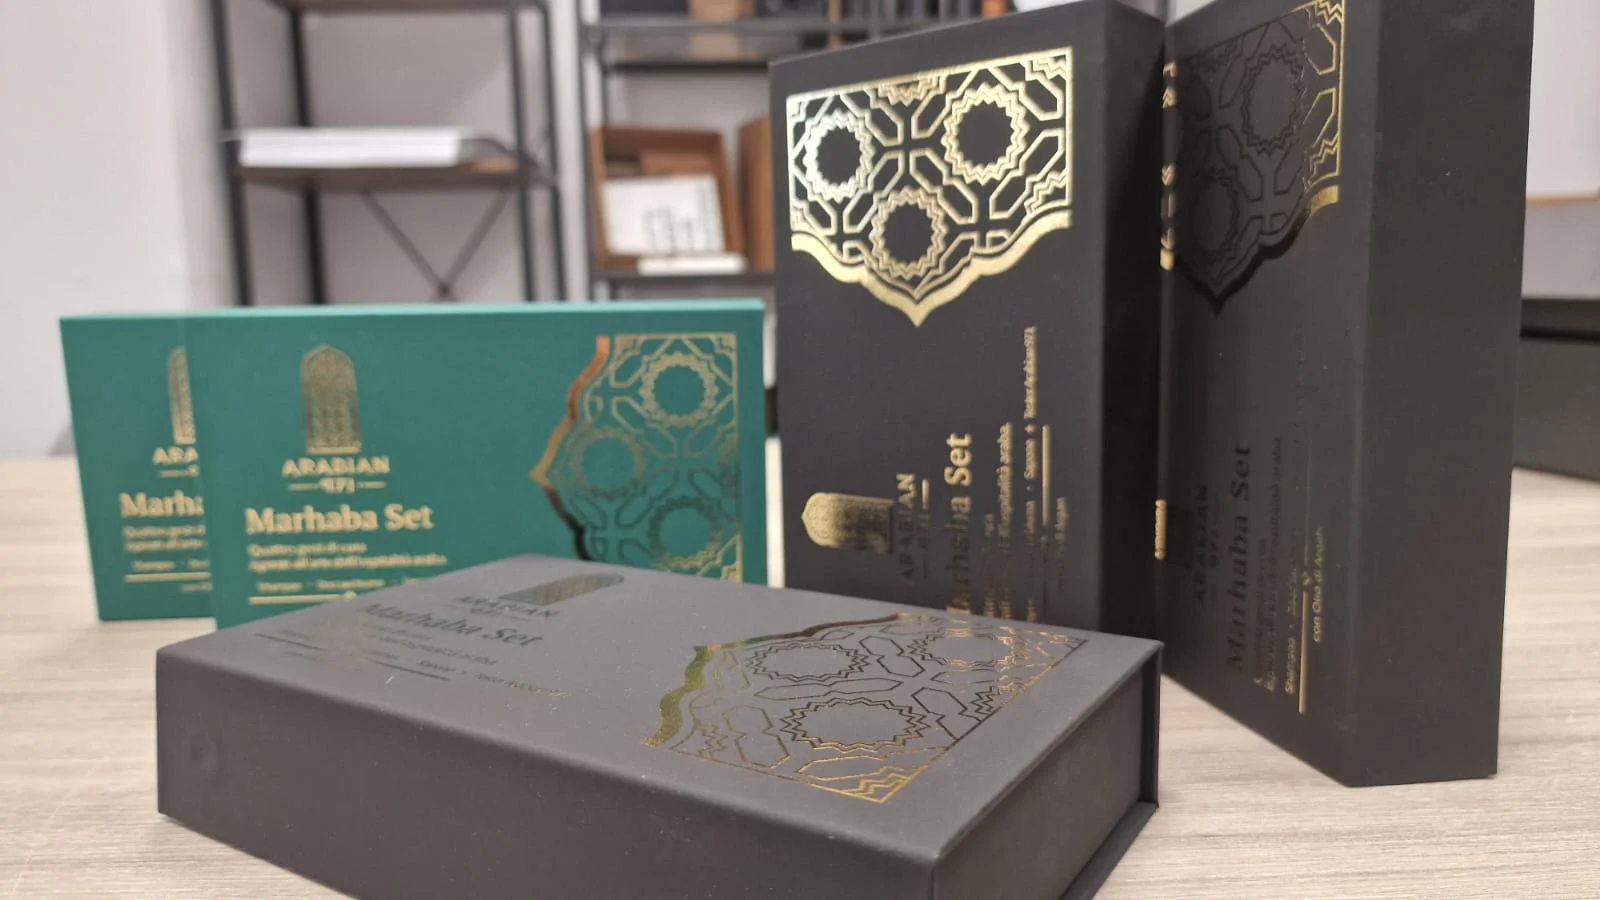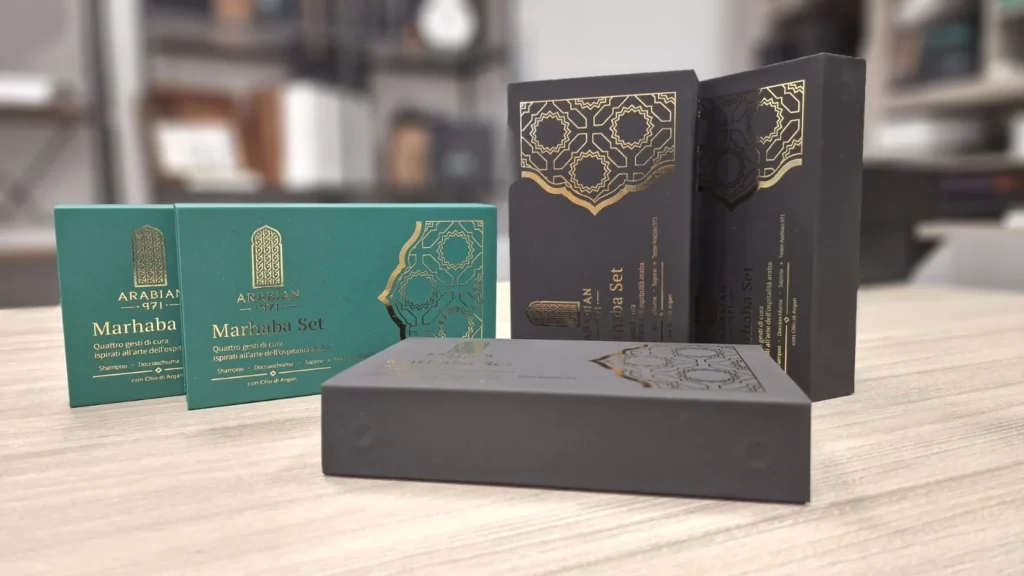
With the lid closed, the gold pattern defines the box. Open it and the colour of the lining and the black insert take over. In these workshop photographs of the Marhaba Set boxes, the two views reveal different sides of the same design.
Gold against paper
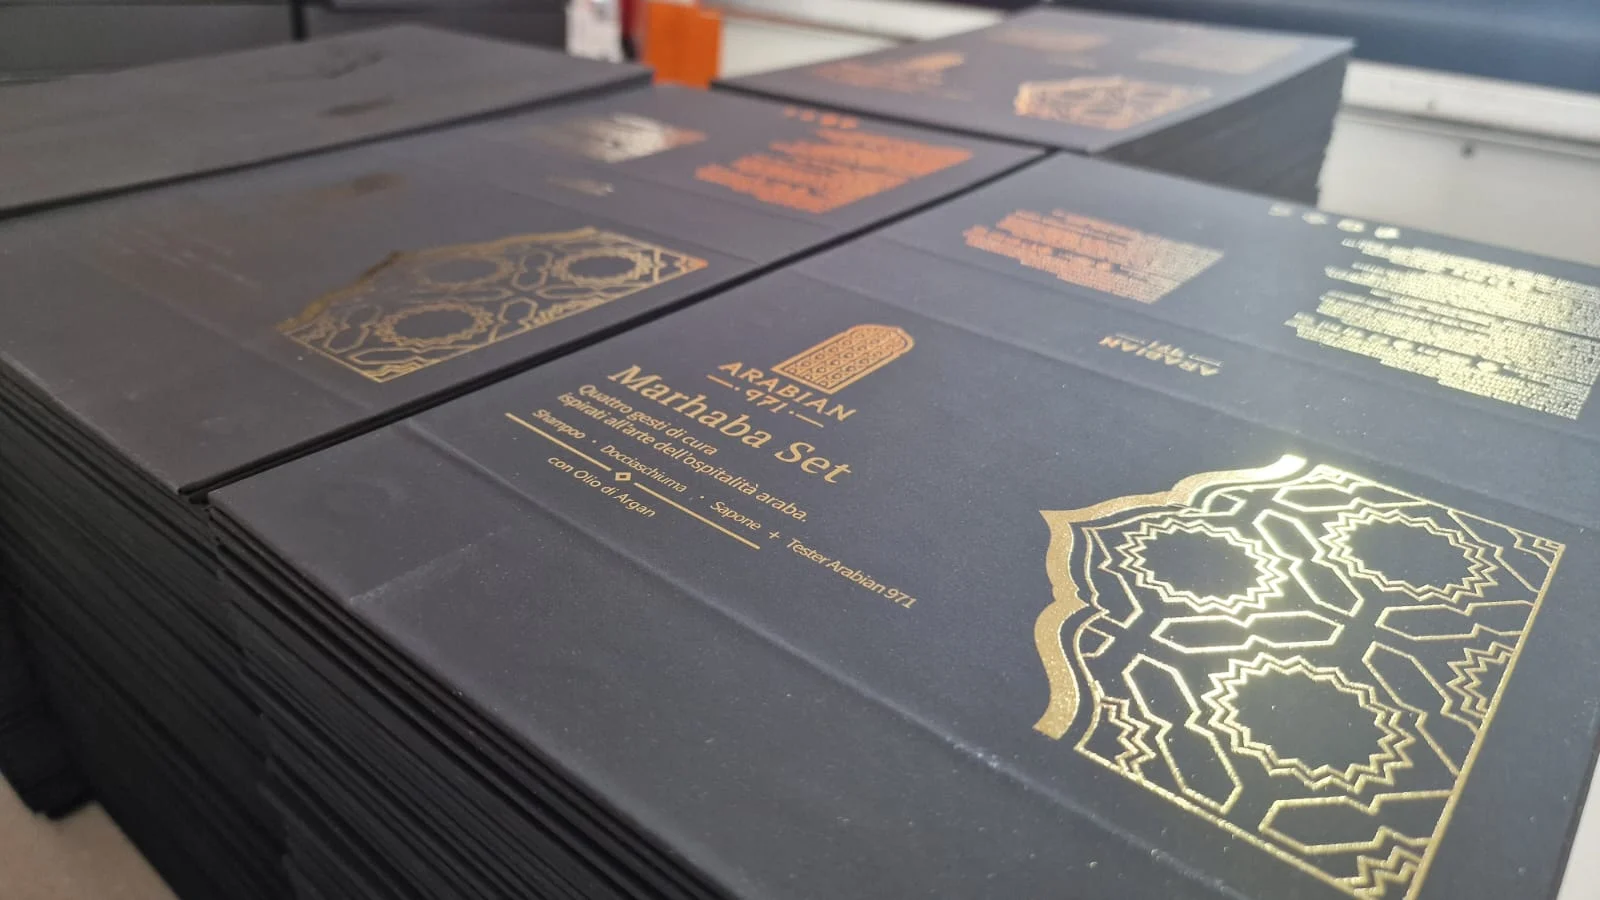
The geometric pattern occupies one corner of the lid, leaving space around the set’s name. Glossy raised gold printing adds relief and reflections that change as the box tilts, while the dark background keeps the design distinct. On the green version, the same motif takes on a different character.
When planning this kind of finish, solid areas, fine lines and small lettering need to be considered together. A design that looks balanced on screen may need different proportions at its actual size. A physical sample lets you judge the relationship between paper, reflection and the height of the print.
A different focus when the lid opens
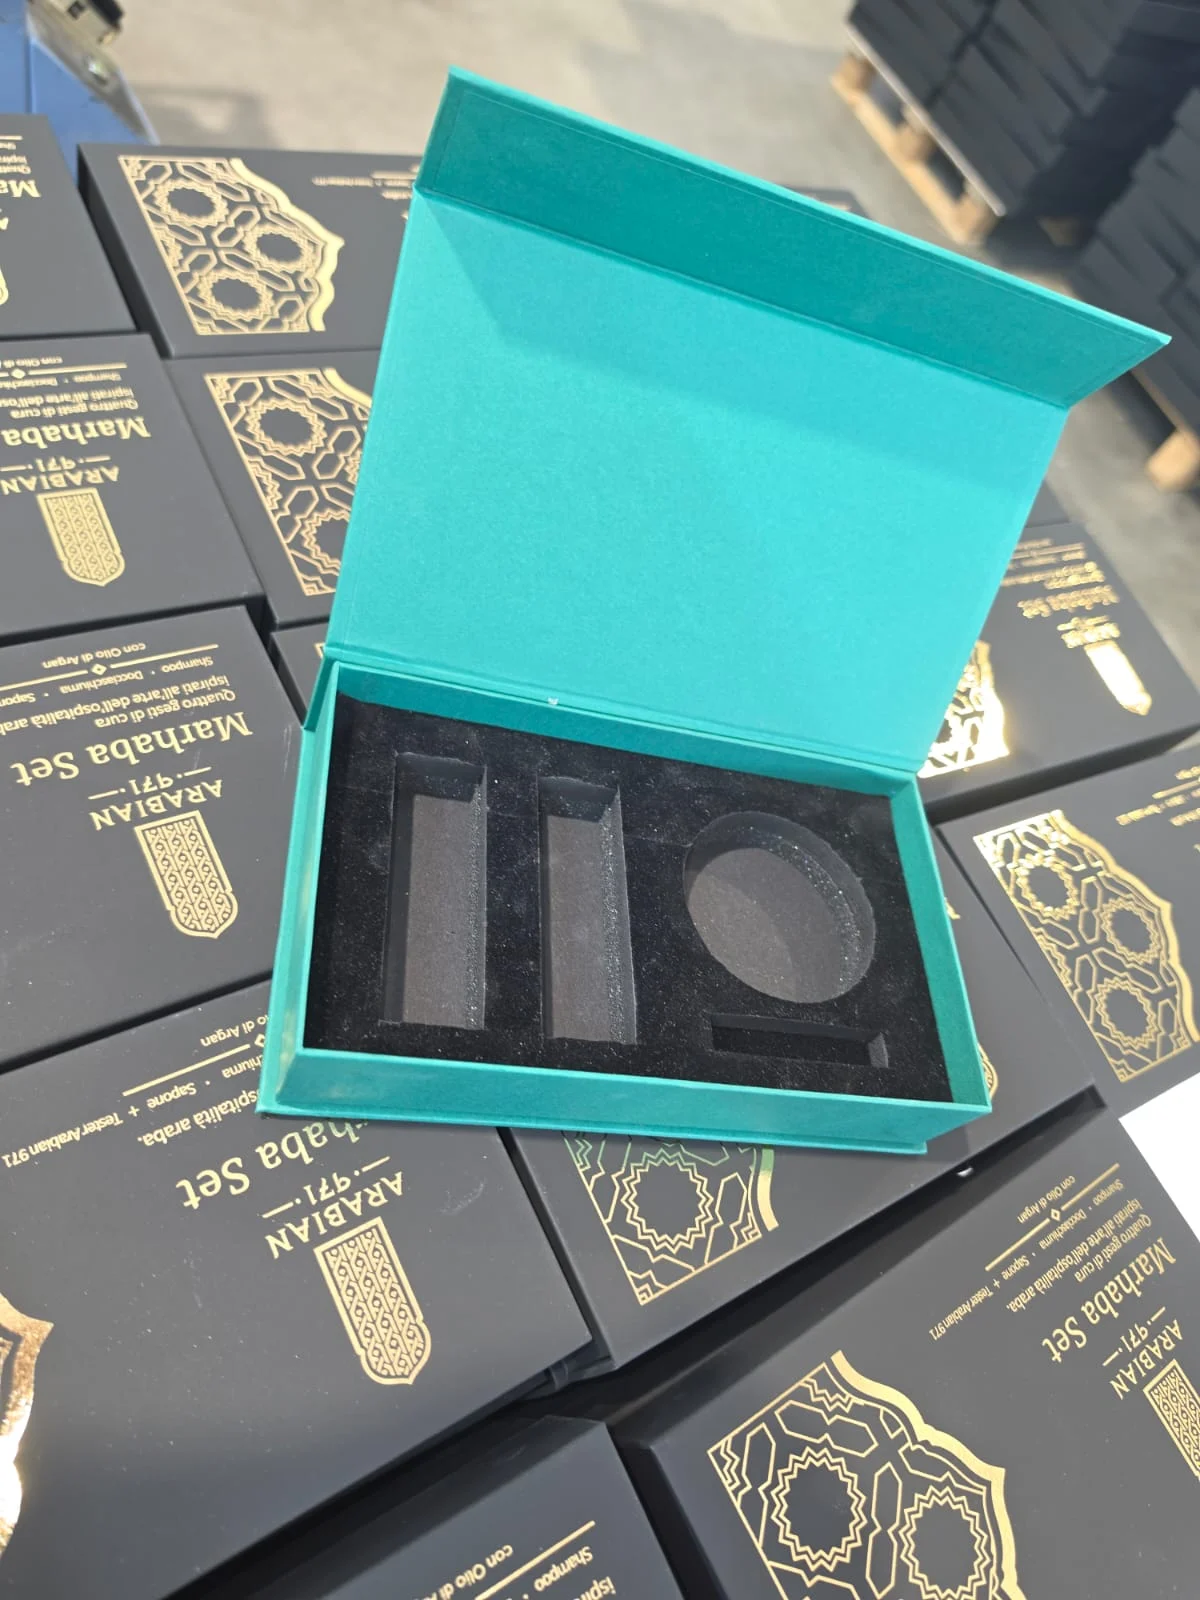
The open box reveals a green lining and a black insert made from laminated material with a flocked surface. Its velvet-like appearance provides a quiet background against which the cut-outs stand out. Colour and texture create most of the contrast; the interior does not need to repeat all the decoration on the outside.
The insert is empty in this photograph. Two elongated recesses, one circular recess and a smaller crosswise recess are visible. The view makes the layout clear before any products are placed inside.
The surface and the structure do different jobs
Flocking describes the surface you see and touch. With a laminated material, the structure beneath that surface also matters. The finish alone cannot determine how an item is held, where it sits or how the whole package behaves in use.
Recesses require the products’ full dimensions, including caps, closures and projecting parts. Depth and support points need attention, as does the space needed to pick up each item. A neat edge is of little use if the only way to remove a bottle is to pull its cap or squeeze fingers between two closely spaced products.
Check the design with the lid closed, too
The insert height must work with the products and the space beneath the lid. The magnetic closure should be checked on the complete set: a view from above cannot reveal every possible clash in height.
A sample provides an opportunity to check loading, removal and closure, and to observe contact between the lining and the product surfaces. Delicate or heavy items need checks suited to their particular requirements. The protective performance of an insert cannot be judged from the appearance of flocking alone.
What to prepare for a project
For a magnetic box with a custom insert, the most useful starting point is the actual product, together with quantities, dimensions, weight and an idea of how the set should be presented. Paper, colour and print preferences can then be considered alongside it.
These photographs show why the exterior and interior belong in the same design process. Gold draws attention to the closed box; once the lid opens, the colour and the recesses take its place. The transition deserves as much care as any individual detail.
Continue planning your project
Configure a magnetic box · Perfume and cosmetics packaging
Also read: Multi-product gift boxes: planning the layout and inserts.