
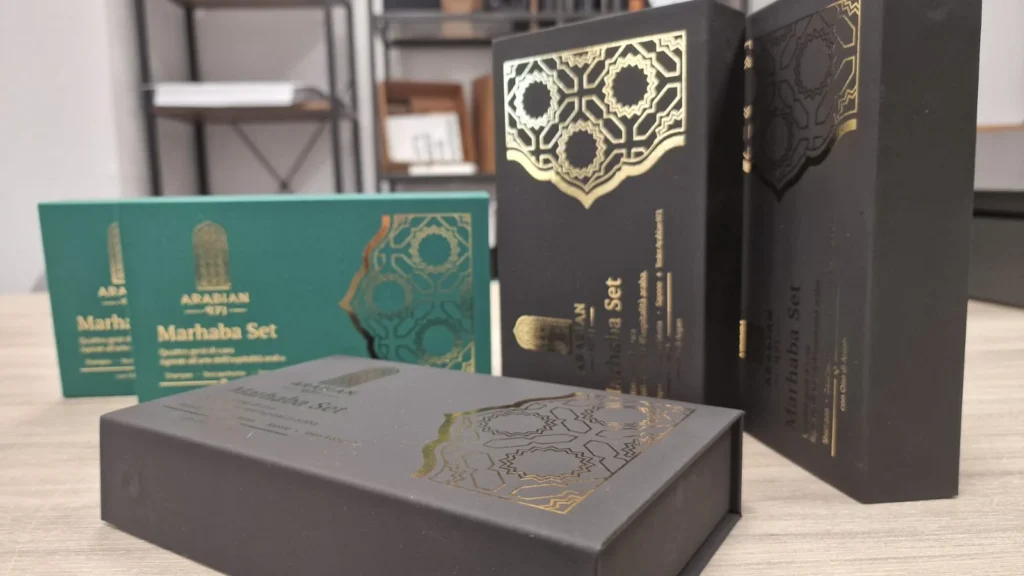
A tall bottle, a low jar and a slim accessory each occupy space differently. Bringing them together in one box means deciding how they will look when the lid opens—and how someone will pick them up, one at a time.
Start with the products, then size the box
The first step is an accurate list of the items. For each one, record its maximum dimensions, weight, intended orientation and the areas that should remain visible. Include caps, pumps, projecting rims and accessories: these can affect the recess shape more than a photograph taken from the front suggests.
A physical sample also reveals details that dimensions alone cannot describe, such as an irregular profile or the easiest place to grip. Choosing a fixed box size first and fitting everything into it afterwards can leave too little room exactly where it is needed.
Make the arrangement easy to read
The main product might sit in the centre, at one side or at a higher level. Other items need a clear place without disappearing behind something larger. Symmetry is one option; an asymmetric layout can work just as well when the visual weight and spacing feel balanced.
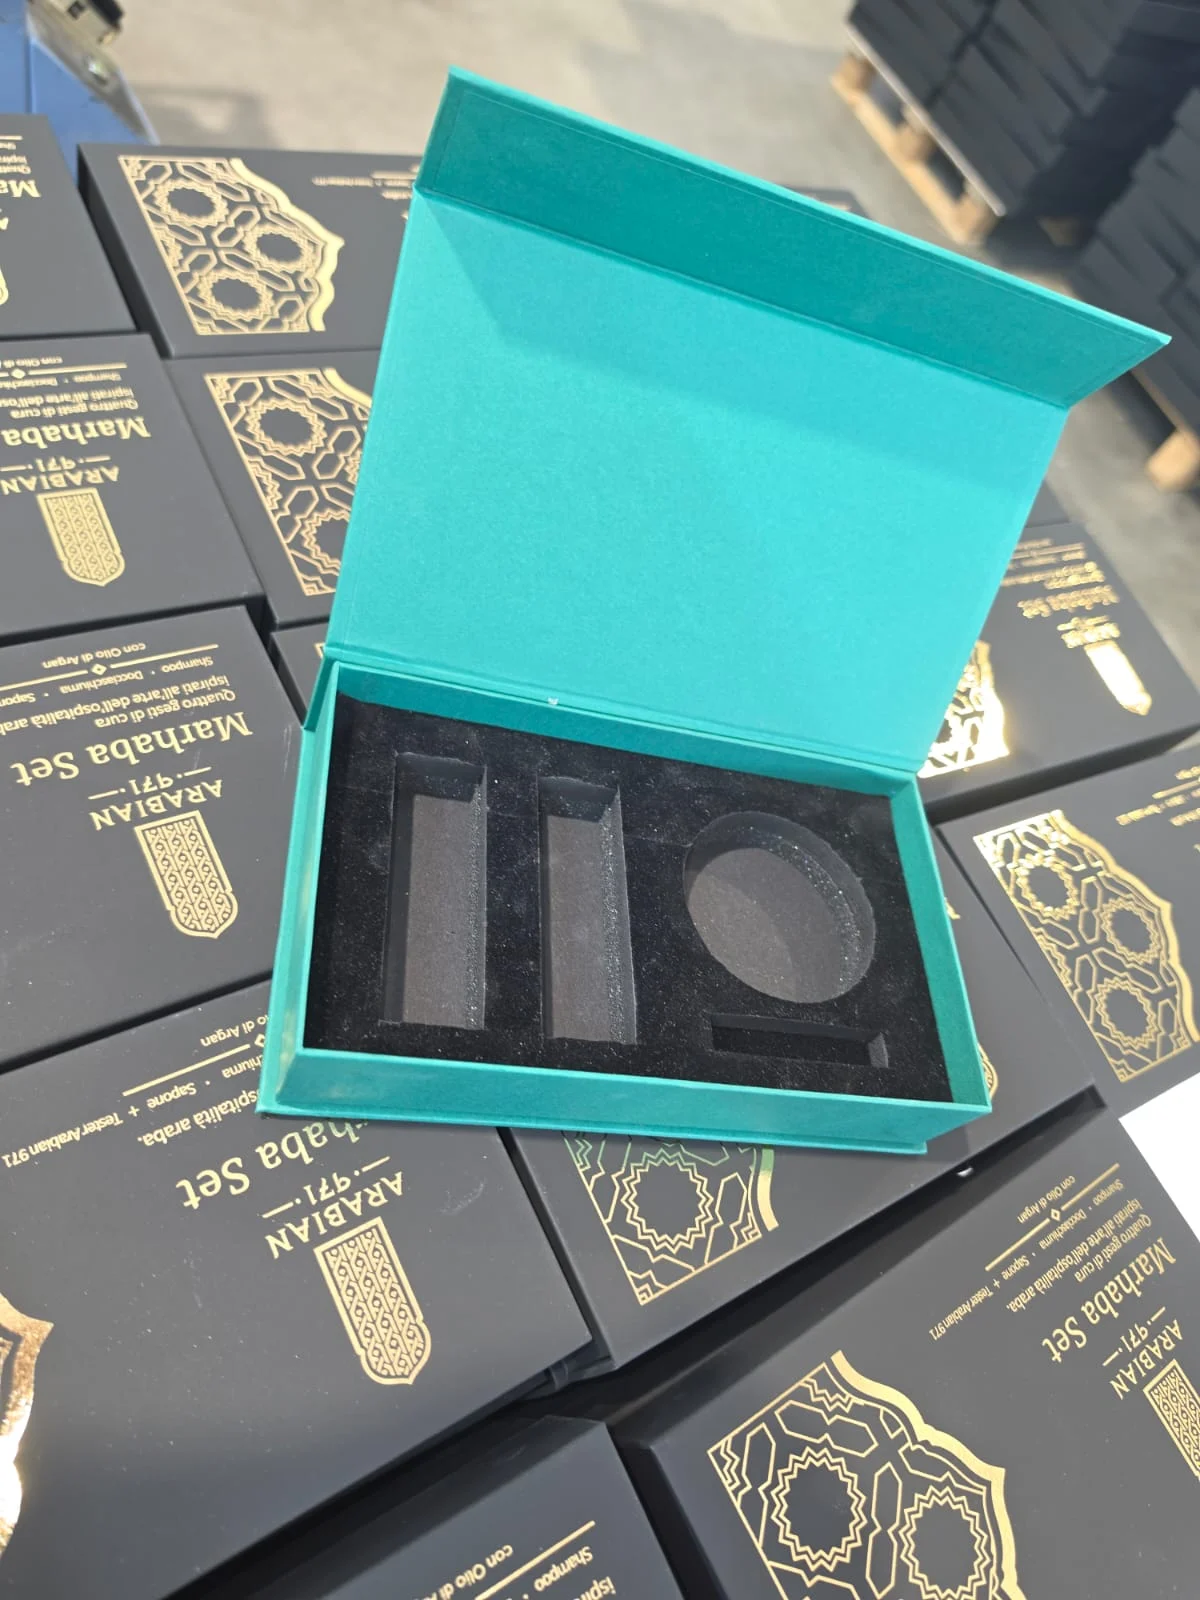
The empty insert in the photographs has two elongated recesses, a circular one and a smaller crosswise recess. It illustrates how different shapes can share one layout. The photographs do not show the products fitted: the match between each item and its recess still needs to be checked on a sample.
Plan depth and access together
Lining up the tops of the products does not necessarily mean using recesses of equal depth. A short item may need a different support arrangement from a tall bottle. What matters is the part you want to show and how the item is supported.
Removal also needs room in the design. An overly tight recess or two items placed too close together can make the contents awkward to pick up. Depending on the shape, a clear area for fingers or a dedicated grip recess may help. Check the solution with the actual product, rather than its outline alone.
Choose the insert material for the set
A cardboard insert and an insert with a flocked surface create different presentations and call for different construction details. The choice depends on shape, support points, weight, product finishes and intended use. Softness to the touch and colour alone do not establish which option is suitable.
In the open box shown here, the black flocked laminated insert defines the cut-outs against the green lining. For another project, a paper or cardboard insert may be more appropriate. Consider these choices alongside the box, without assigning unverified performance claims to the material.
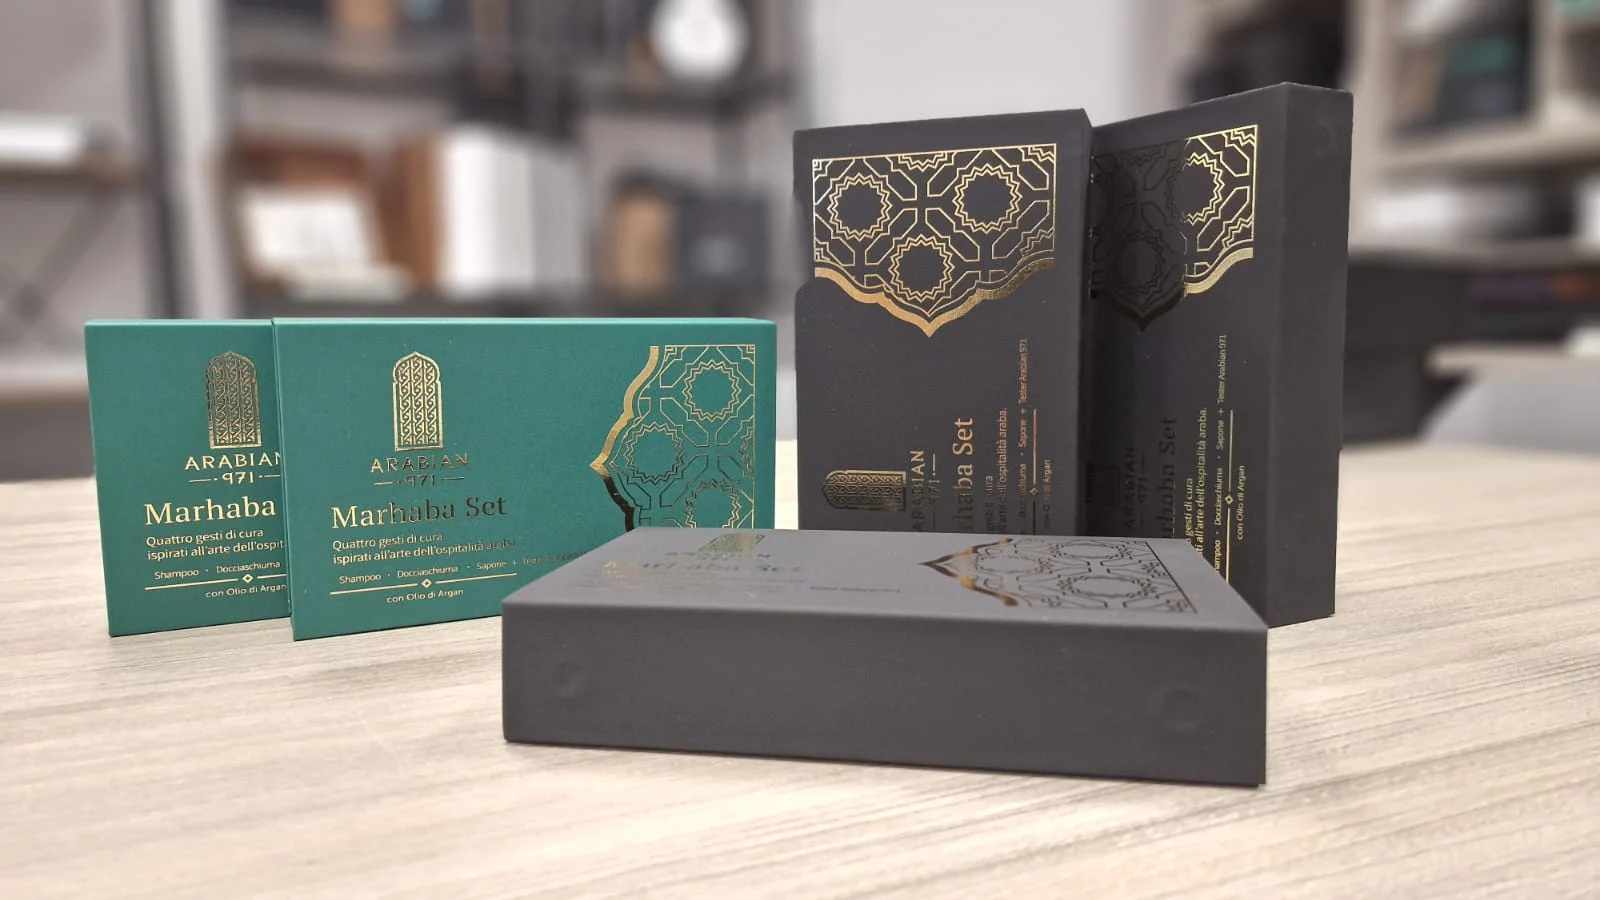
The final sample should include packing the set
Before production, assemble the full set and follow the intended loading sequence. Each item should reach its recess without getting in the way of another. Then check that the lid closes properly and, where independent removal is intended, that each product can be taken out without moving the rest.
For a project enquiry, prepare the product list, dimensions, quantities and, if possible, actual samples. Explain how the set will be delivered, too. If it will be shipped, the assessment also needs to cover the transport packaging and the checks appropriate to its contents.
Continue planning your project
Configure a magnetic box · Gift boxes
Also read: Luxury magnetic boxes: raised gold printing and flocked inserts.