
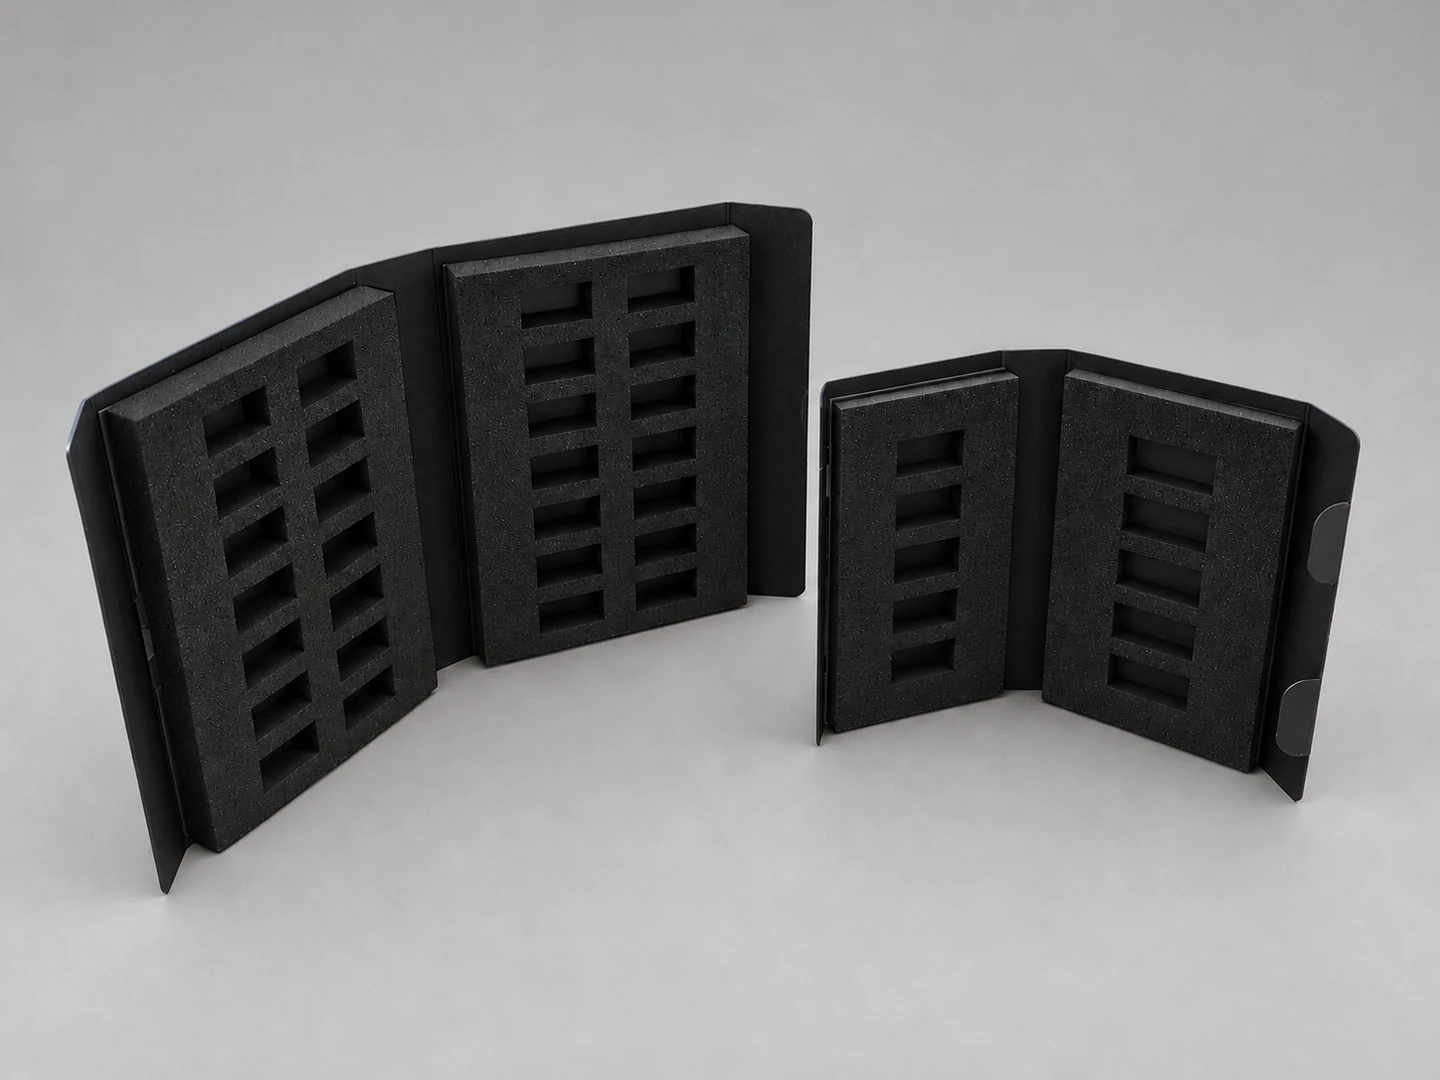
A perfume sample case is opened, examined and passed from one person to another. Fragrances are compared side by side; a bottle is picked up, the fragrance tested, and the bottle put back. These small actions reveal how well the insert has been designed.
At Scatole.com, making an insert for perfume and cosmetics means working on the relationship between the product, its support and the packaging. Each recess must accommodate its contents, its depth must keep them visible and accessible, and the layout must make the collection easy to understand. The sample case photographs and two short workshop videos offer a closer look at this work.
The design starts with the bottle
The first dimensions we need are those of the complete product: body, cap, dispenser and any protruding parts. A broad-shouldered bottle needs a different recess from a slim vial. A shallow jar raises other questions: how far should it sit above the insert? Where will someone grip it? Which way should the label face?
The layout follows from these details. In a set containing several products, the spacing and alignment of the recesses help shape the presentation. It is also worth deciding early on how the products will be explored: as a range of fragrances, a skincare routine or a selection to present at a meeting.
From the drawing to the cutting table
The digital drawing defines the outline of the insert and the position of its recesses. Before cutting, we consider the material, thickness, spacing between cuts and usable area inside the packaging. These decisions are connected: a recess close to an edge leaves less material to support the product.
The videos show the machine head moving across the work surface during cutting. These are two short, close-up views of this stage, as the path defined in the design is transferred to the material. Repeated recesses require consistency between the drawing and the finished piece, which is then checked on the sample.
Original footage at normal speed. Start a video to watch the process; sound can be enabled in the controls.
Depth matters as much as shape
A recess can follow a bottle’s outline closely and still be awkward to use if the bottle sits too far down. Alongside the shape, we therefore design the level at which the product rests and the space needed to lift it out.
For foam inserts, we can tailor the outline and height to the project and combine the foam with paperboard or other components. The material and construction need to be chosen around the actual contents: weight, geometry and intended use all affect the result. The sample also allows us to check that contact with the insert is suitable for the product’s surface and finish.
When the insert becomes part of the case
The photographs show two sizes of folding presentation case, with dark inserts and rectangular recesses arranged across adjacent panels. With the case open, the sequence of recesses makes the organisation of the collection immediately clear. Other views also show one of the cases closed, with branding on its cover.
This illustrates how the insert can form part of the packaging structure. Its dimensions must be coordinated with the folds, margins and opening movement. Closure also needs to be checked with the products in place: the cap, bottle height and insert thickness must all fit within the available space.
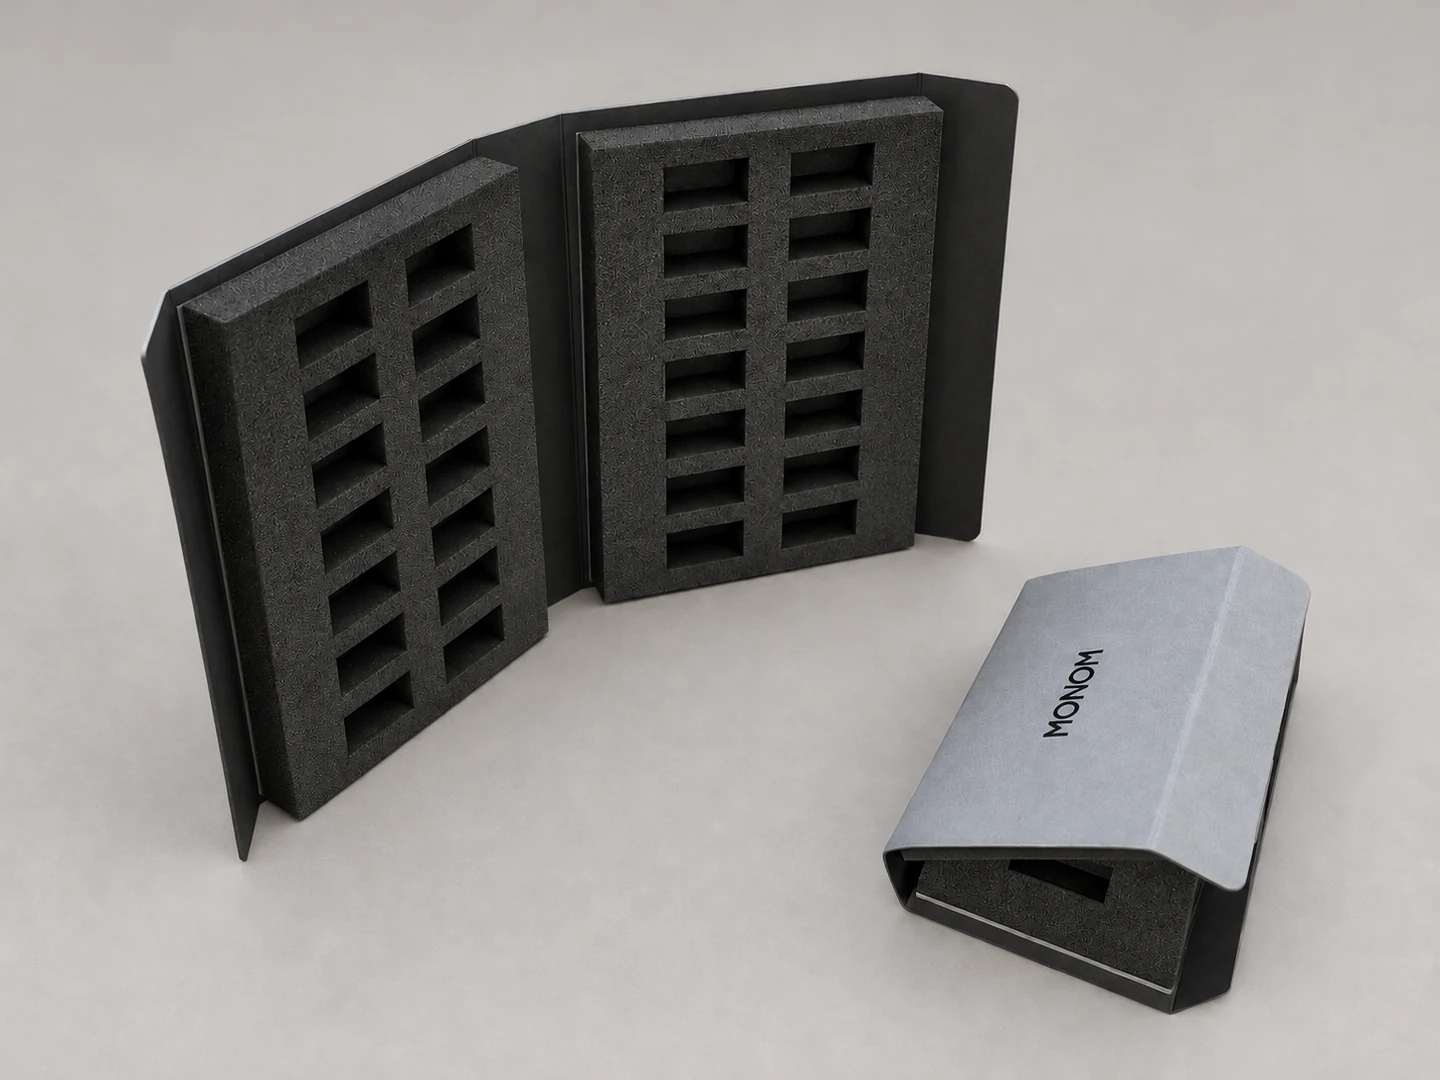
View the other photographs
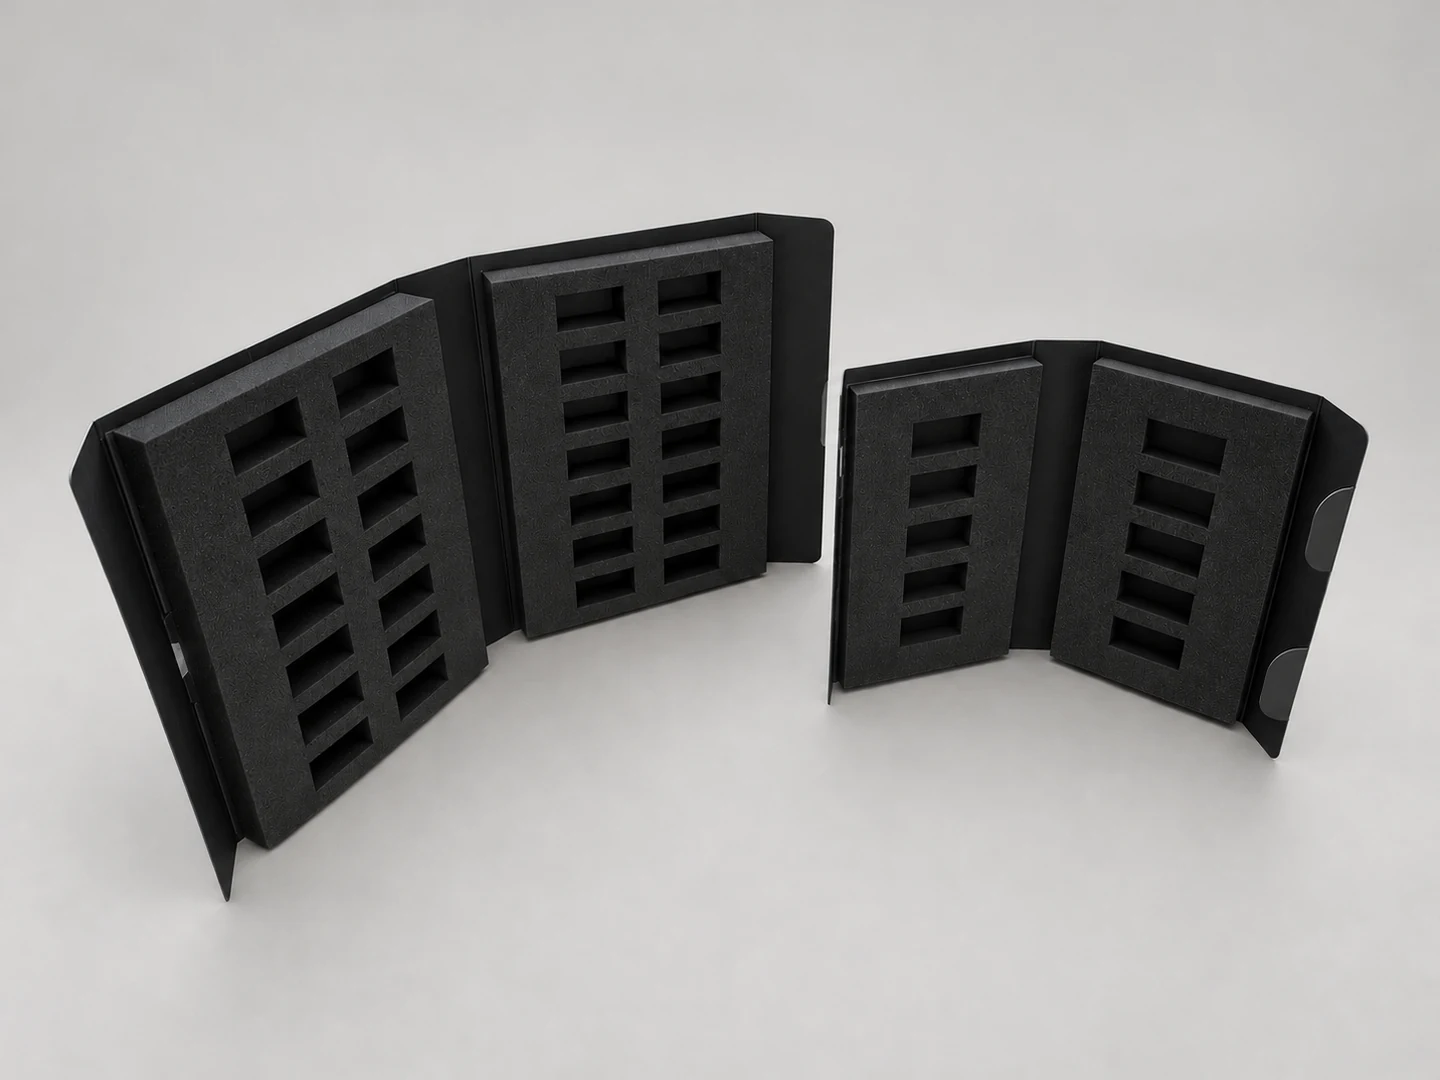
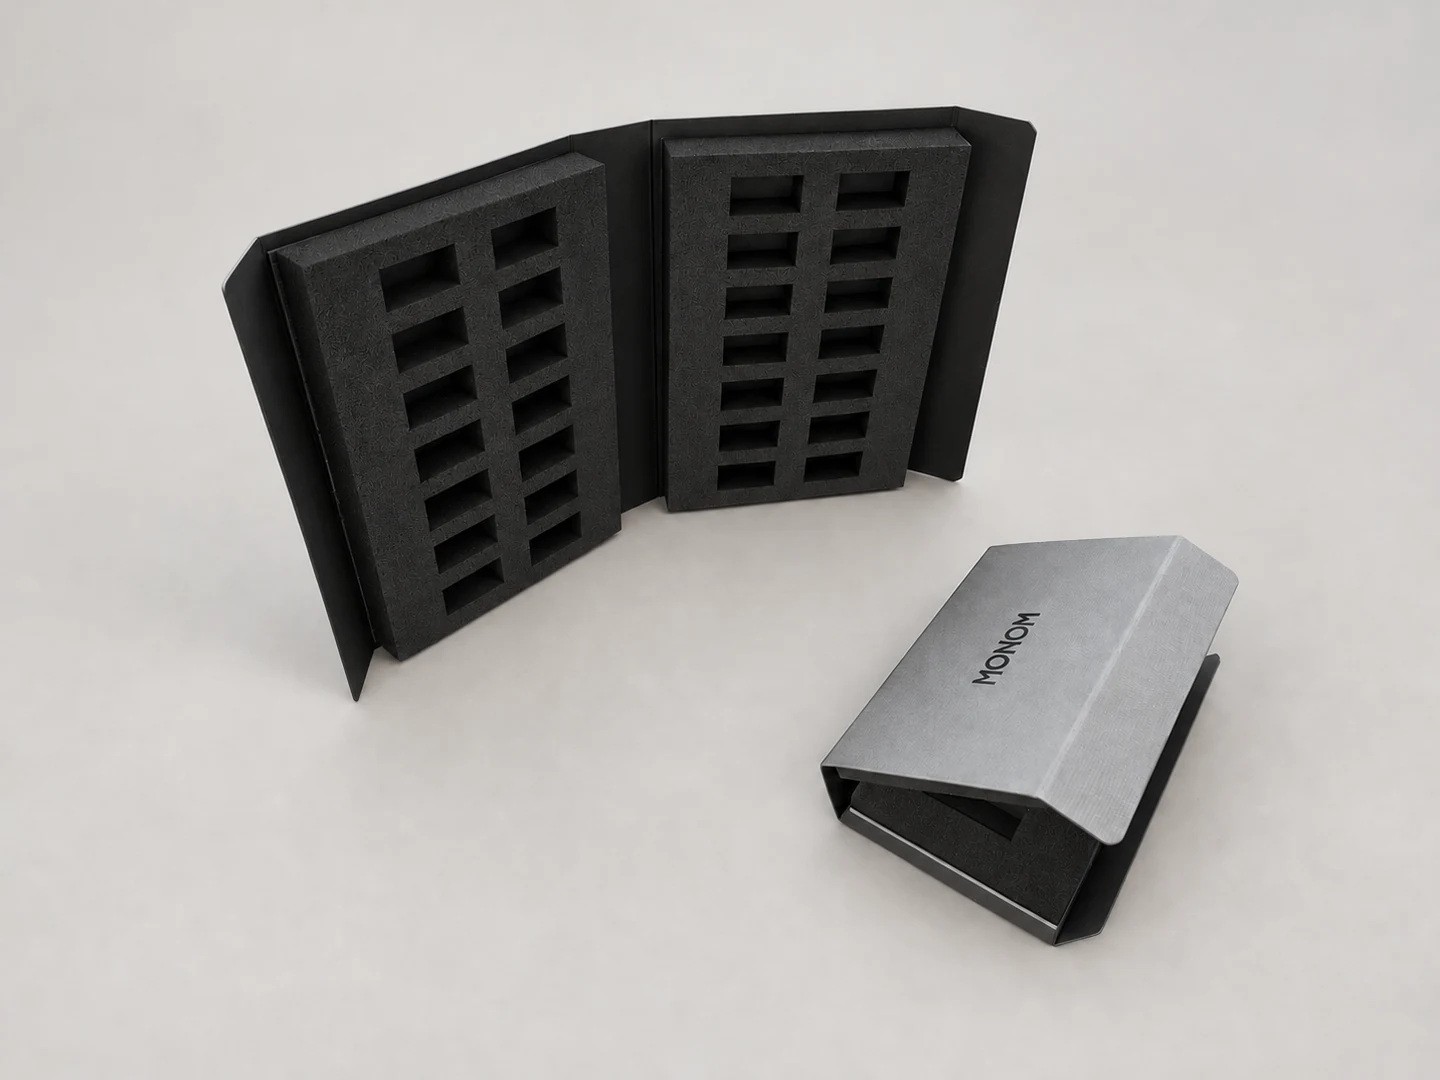
The essential check uses the real products
Before approving a design, the most useful check is straightforward: place every product in its recess, open and close the case, then lift each item out and put it back. We look at how it rests, the space for fingers, any pressure points and the appearance of the complete set.
A sample case intended for frequent demonstrations also needs to accommodate repeated handling. If the pack will be shipped, the assessment must cover the complete combination of product, insert, box and outer shipping packaging, taking the expected transport conditions into account.
Where to start with your project
To design an insert, we need the full product dimensions, the number of items and how you want to present them. Photographs and drawings help us begin; physical samples allow us to check the fit. It is also useful to specify the box format, quantity and whether the project is a discovery set, a gift kit or a reusable sample case.
With this information, we can develop the layout, choose the support material and prepare a sample for assessment. The aim becomes clear when the case is opened: every product has an obvious place, is easy to pick up and can be returned to its recess.
Let’s find the right place for every product.
Tell us what your set contains and how it will be used. That is where we start.