
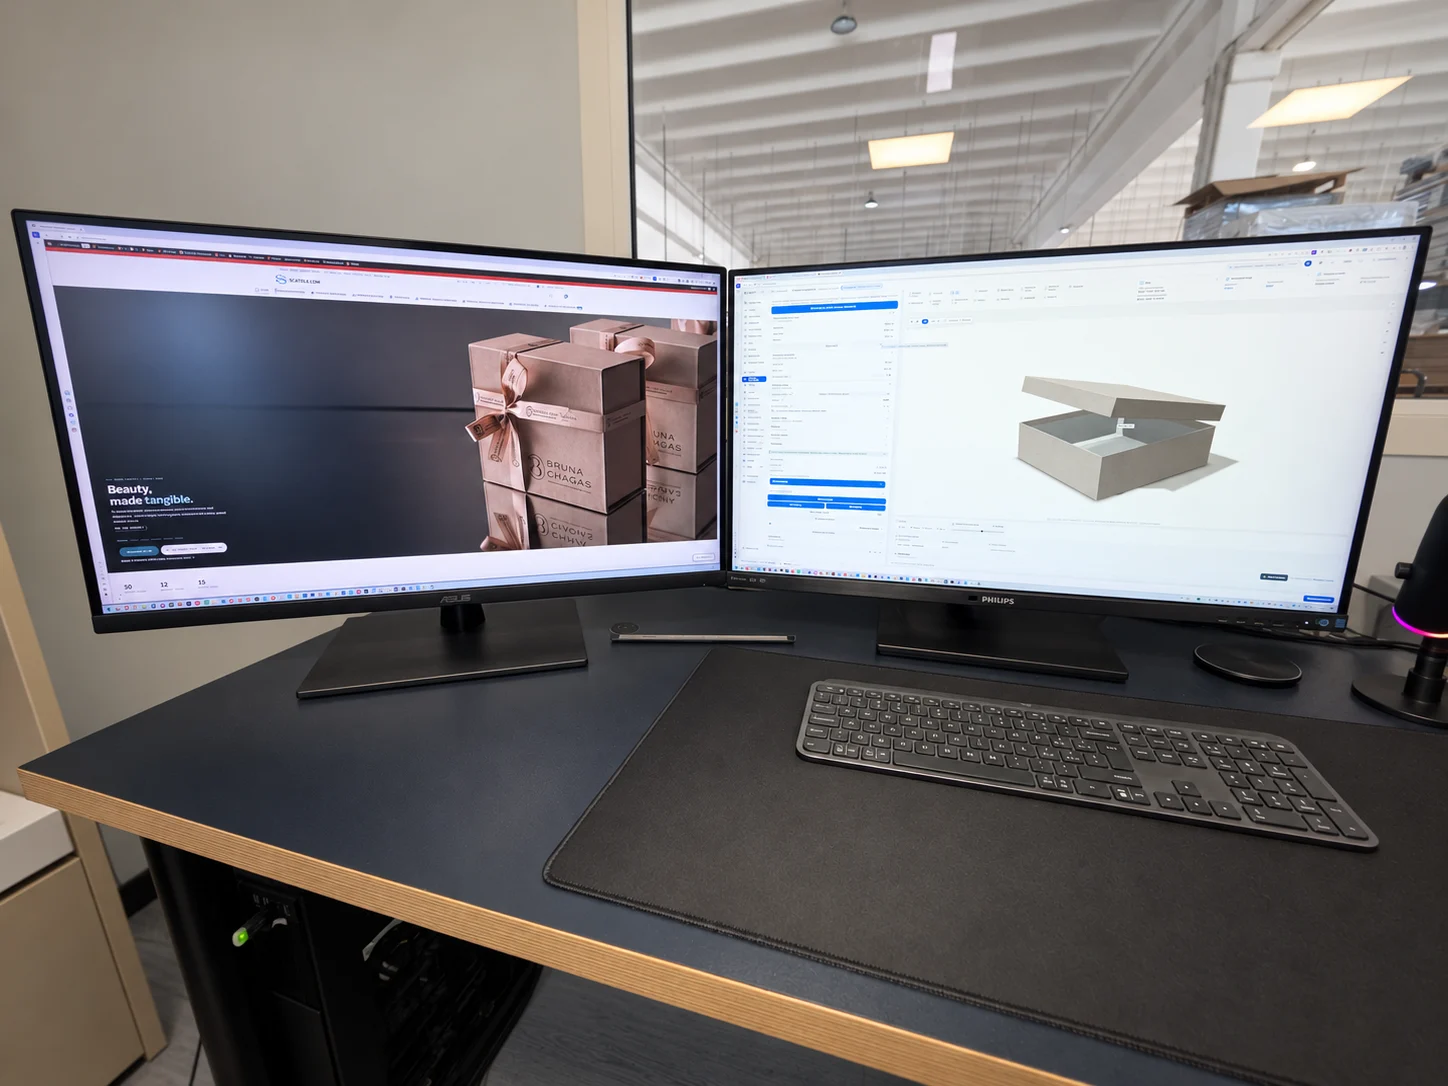
At Scatole.com, investing in technology means bringing greater precision and organisation to the journey from a product to its packaging. We design custom boxes and inserts by considering dimensions, structure, materials, artwork and manufacturing together. Supporting this work is Cartis, the advanced software we developed in-house to create projects, optimise material use and track production progress.
Cartis grows out of our practical experience. It helps us address very different packaging needs through a consistent process: define the project, assess its construction and carry coherent information through to the next stages. Technology becomes part of our everyday work, from the initial configuration to preparing the production job.
Software built around packaging
A library of models and shapes provides a starting point for different structures: base-and-lid boxes, magnetic boxes, drawer boxes, multi-piece constructions and fitted inserts. Each project is adapted to the product and the intended opening experience. Length, depth, height and material thickness are working parameters, alongside the construction details available for each model.
This approach treats packaging as a system: the covering must work with the structure, the insert must accommodate the contents and the closure must function at the chosen dimensions. To get started, explore our magnetic boxes and base-and-lid boxes.
From a 2D dieline to a 3D view
Cartis combines technical drawings with three-dimensional visualisation. The flat development helps us read cuts, folds, turn-ins and components; the 3D model makes proportions, opening and the relationship between parts easier to understand. This allows us to assess solutions and dimensions before making a physical sample.
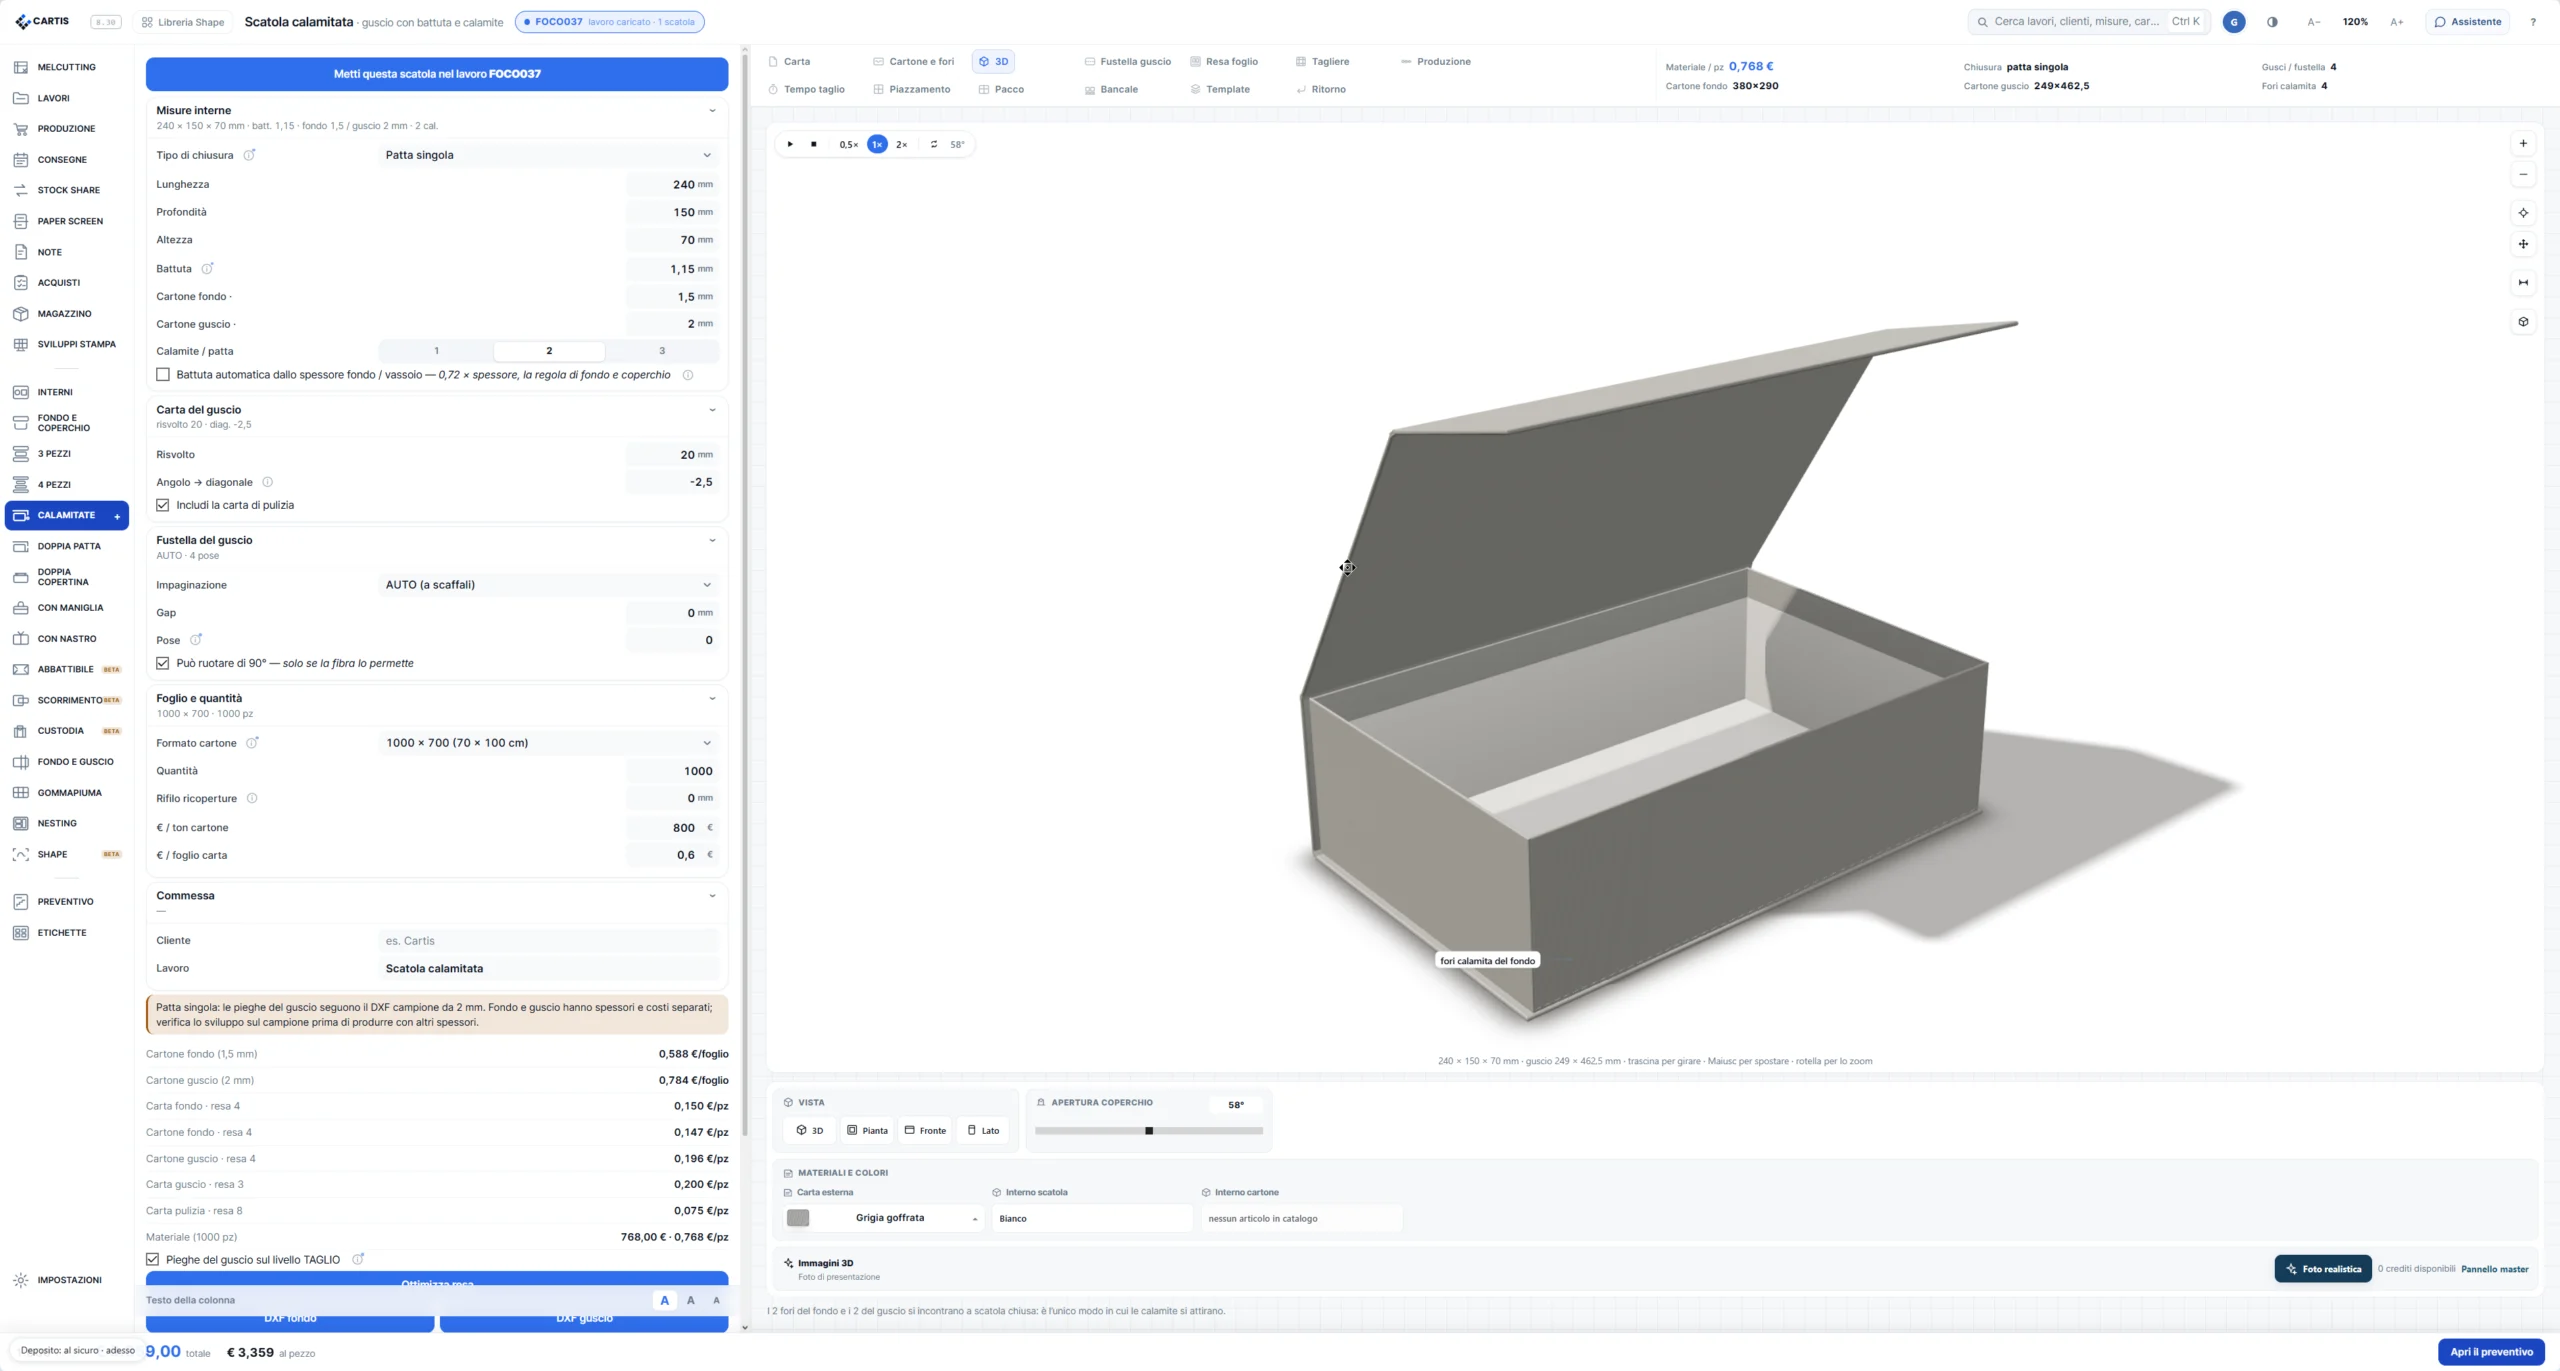
The illustrated project is a magnetic box. Its settings include internal dimensions, base and wraparound-shell thickness, covering paper and lid opening. The software relates the construction to material requirements and sheet yield. The digital view supports design decisions; a sample, when included in the project, also allows us to assess material behaviour, the closure and how the box feels in the hand.
Inserts designed around the product
Custom packaging also involves the way its contents are supported, protected and presented. We design cardboard and shaped-foam inserts, defining cavity shape, depth, height and the space needed to remove the product. We can develop combinations with paperboard, plastic elements and personalised details to suit the packaging requirements.
Compare the available solutions in the shaped-foam insert studio and the shaped-cardboard insert studio. Our guide to customising inserts also shows a real example with a laser-engraved nameplate.
Optimising materials before cutting
An important part of Cartis is sheet layout and nesting: arranging shapes to make better use of the available surface. Material format, quantity, spacing between components and grain direction all affect layout possibilities. Rotating a component can be useful, but it must respect the material and construction requirements.
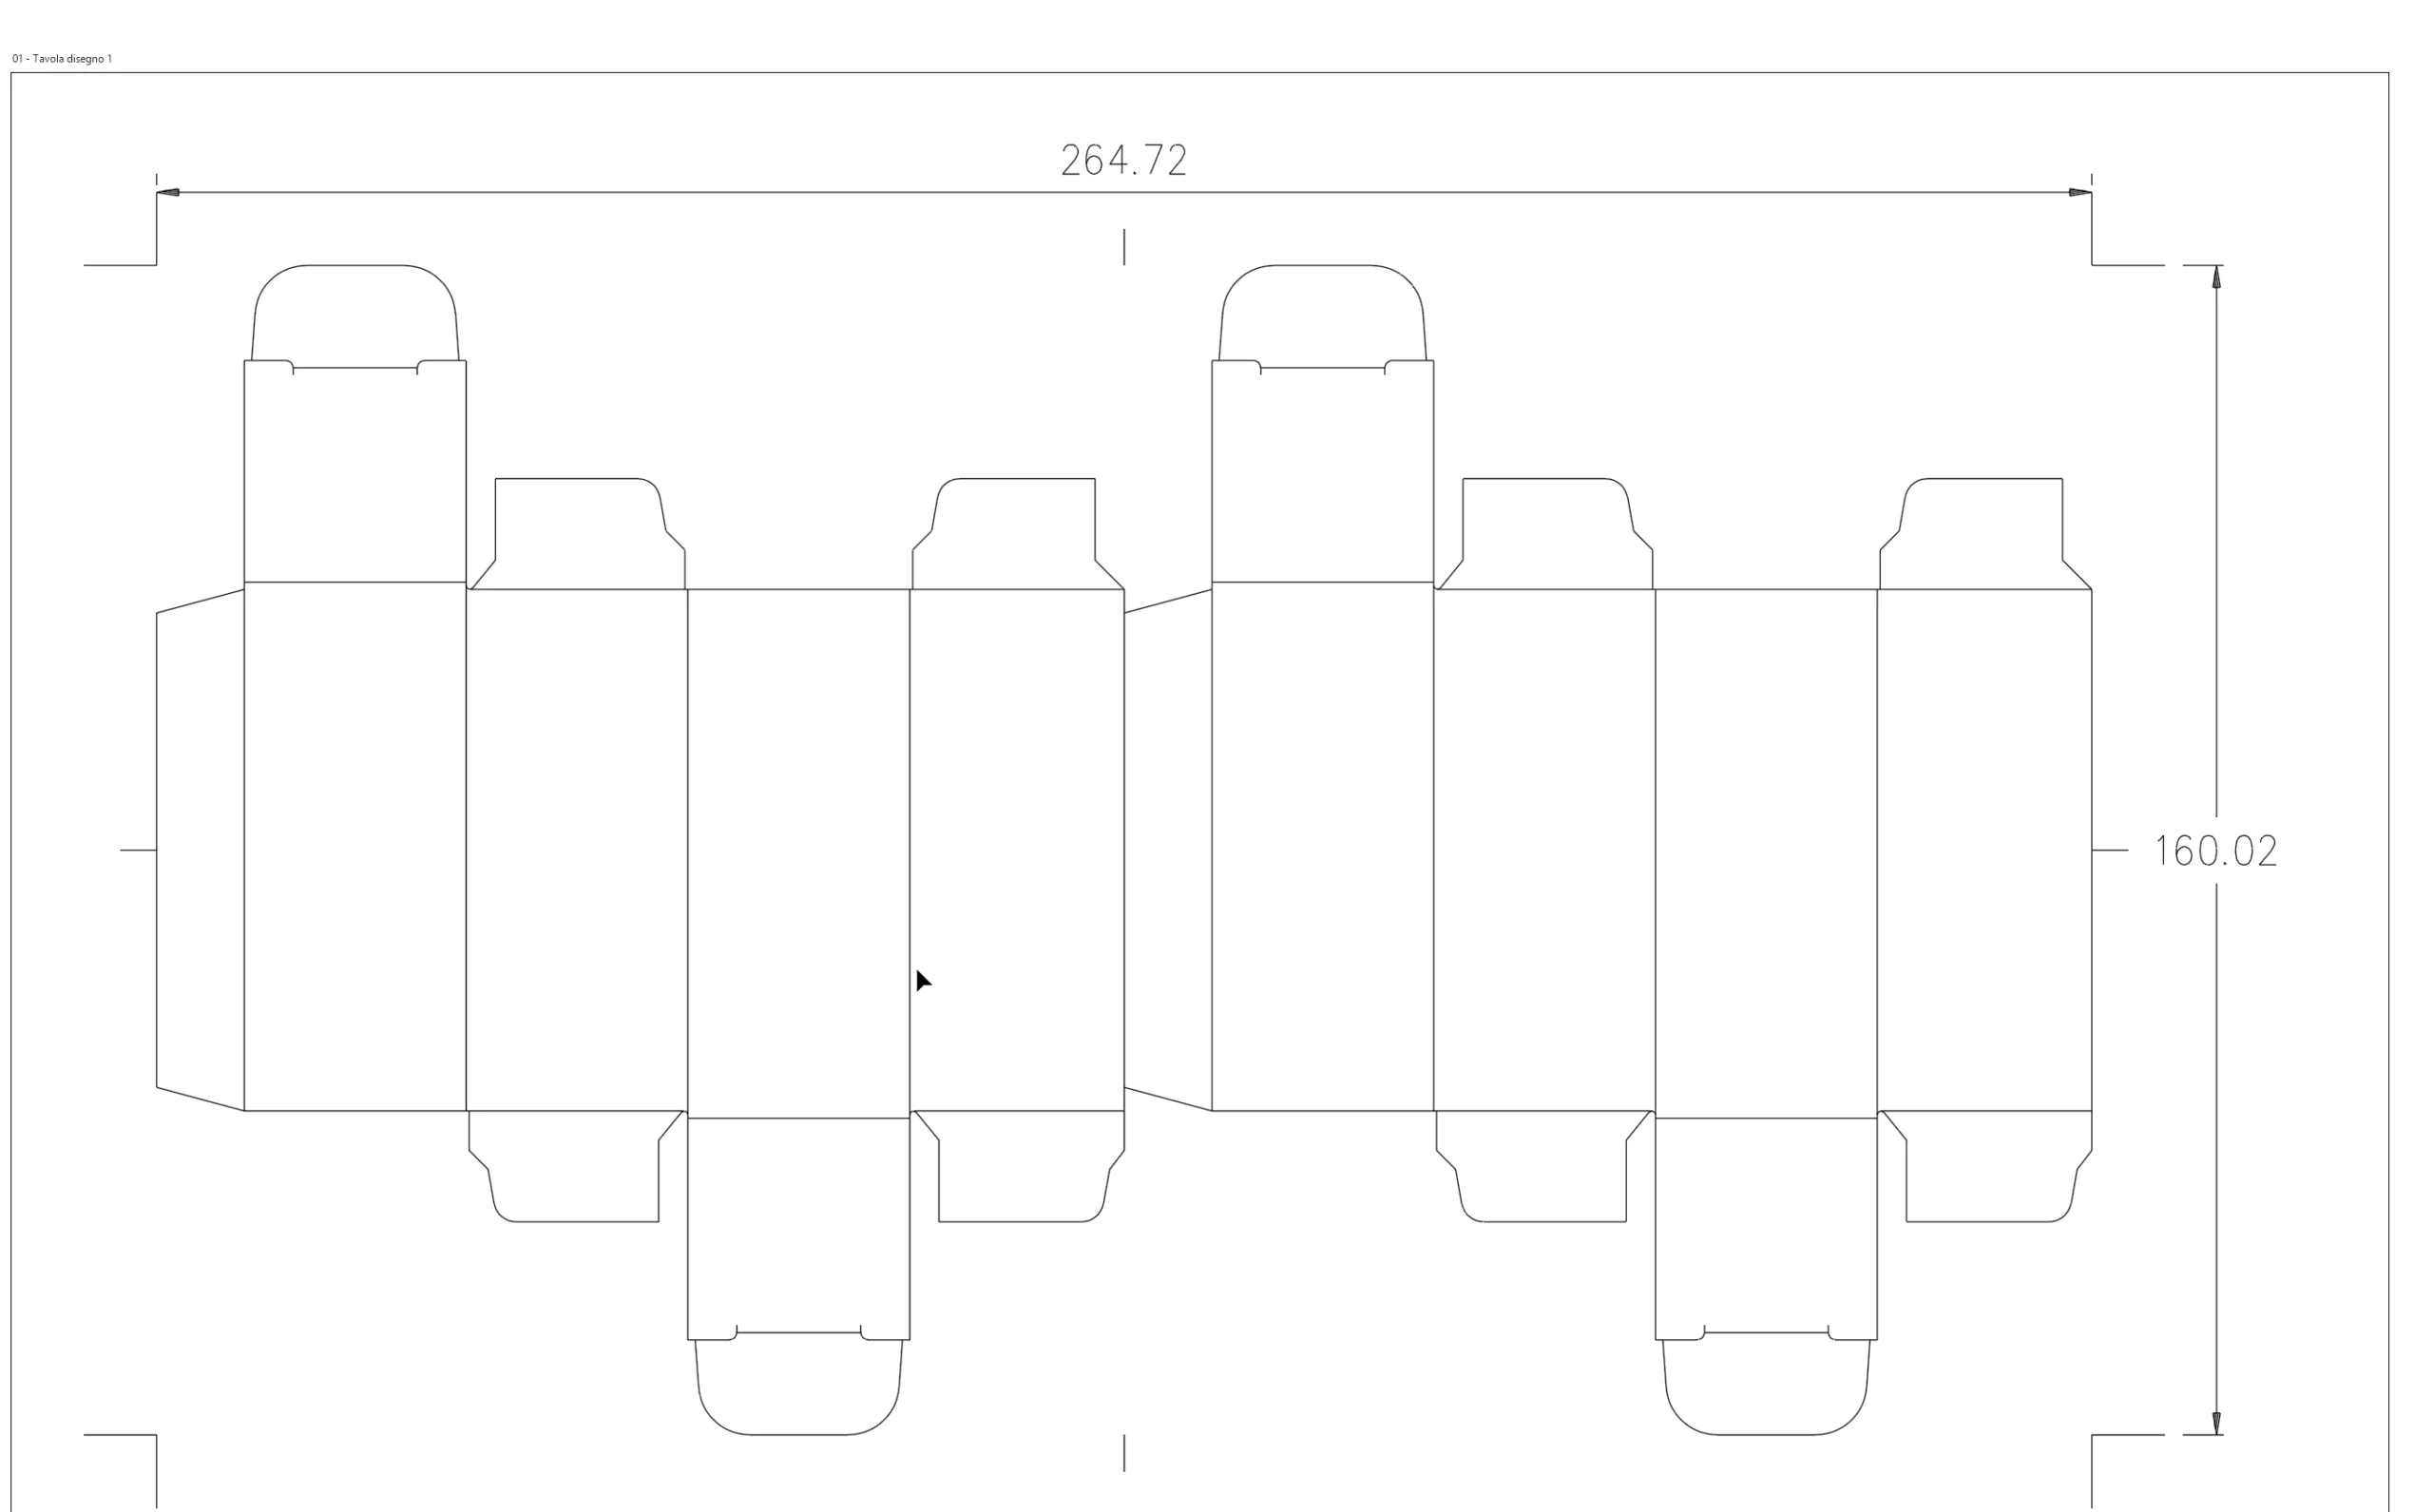
Yield information helps estimate how many components can be obtained from a sheet and compare the project’s requirements with the material needed. The aim is to plan cutting with better information and reduce avoidable offcuts. Results depend on the geometry and constraints of each job, so optimisation is assessed against the actual project.
From design to production progress
Cartis connects design with job management. Dedicated areas for jobs, production, deliveries, purchasing and stock help keep operational information organised. A project becomes more than an image: it provides a reference for preparing materials, components and operations and following the work through its stages.
Functions for cutting, placement, packing and pallet planning support this preparation. For the customer, the value lies in a process that considers technical decisions and production organisation together, creating greater continuity between what is designed and what needs to be made.
Artwork and craftsmanship complete the project
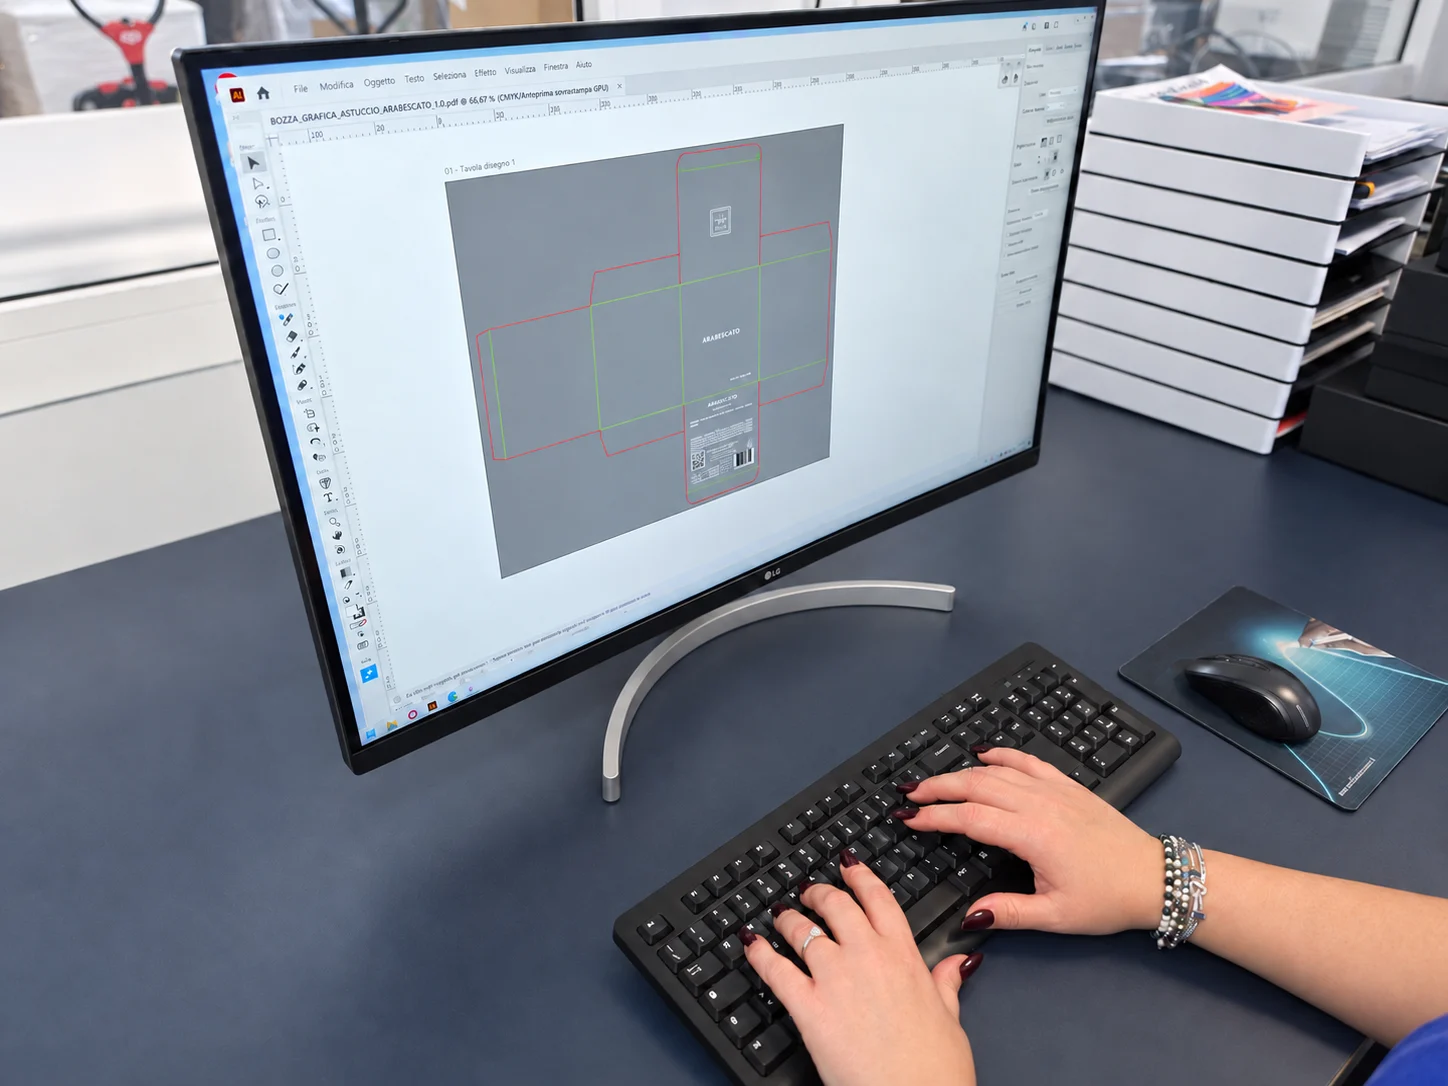
Artwork is prepared in relation to the packaging surfaces and technical dielines, using professional tools such as Adobe Illustrator. Cartis is our own software for design and job management; graphics applications work alongside it to prepare visual elements. Dimensions, logo placement, margins and the printing technique need to work with the construction.
The digital project then moves into the workshop. Material checks, covering, assembly and finishing require experience and attention. Watch our film of manual production work: technology and care for detail are two parts of the same approach.
Where to start with your packaging
To develop a suitable solution, we start with the product: dimensions, weight, number of items, how they will be removed, order quantity and desired finishes. Include your logo and available artwork files, together with presentation and protection requirements. This information helps us define a coherent structure and insert.
You can start with the Scatole.com configurators and read our step-by-step Design Studio guide. For a special project, send us your brief. We will bring together our experience, Cartis and the workshop’s production skills to turn your requirements into packaging that can be developed and tested.