
Define the set before the box
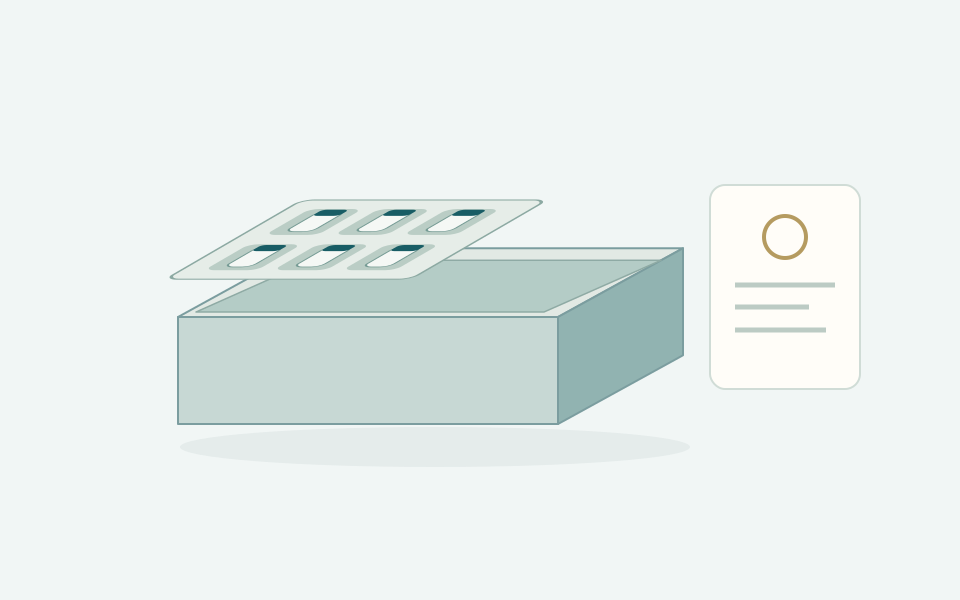
A Discovery Set is more than a box with several holes. It creates a sequence: view the collection, identify each sample, take it out and put it back. Decide which products it contains, how many of each and what accompanies them: a card, instructions, fragrance blotters or accessories.
If you plan several versions, identify what remains the same and what changes. A shared insert is possible only when the dimensions and method of holding the products are compatible. Similar stated bottle capacities are not enough.
Measure the cap, spray and label too
For each vial or bottle, record the largest overall dimensions, complete height and any parts that must not be pressed. A cap wider than the body changes the compartment. A label or collar can affect insertion, particularly in a close-fitting recess.
Show whether the product sits upright or lies down. Avoid resting a support against a pump or moving part. If a sample is fragile, consider a prototype using the real components.
Choose the insert by its function
Foam and cardboard inserts organise products differently. Foam can provide a soft recess; cardboard works through cuts and folds. Choose according to geometry, grip, arrangement and presentation as well as the appearance you want.
Allow space between compartments and check the material beneath each sample. An insert alone cannot guarantee that a liquid will not leak or that a parcel will withstand every impact. Bottle closure and transport packaging need their own checks.
Test grip and readability
- Can the sample be removed without pulling hard on the cap?
- Is the label readable in the intended position?
- Do the variant names match the layout?
- Is the card separate from the products without obstructing closure?
- Can samples be put back after use?
Finger grips and orientation can matter more than a decorative hole. Check the complete set rather than one isolated compartment.
Open the relevant configurator
Start with the Discovery Set configurator for a small collection. For a more complex kit, consider a magnetic box with an insert. Read more about foam and cardboard, or explore the shaped foam and shaped cardboard configurators. Internal dimensions remain the common starting point.